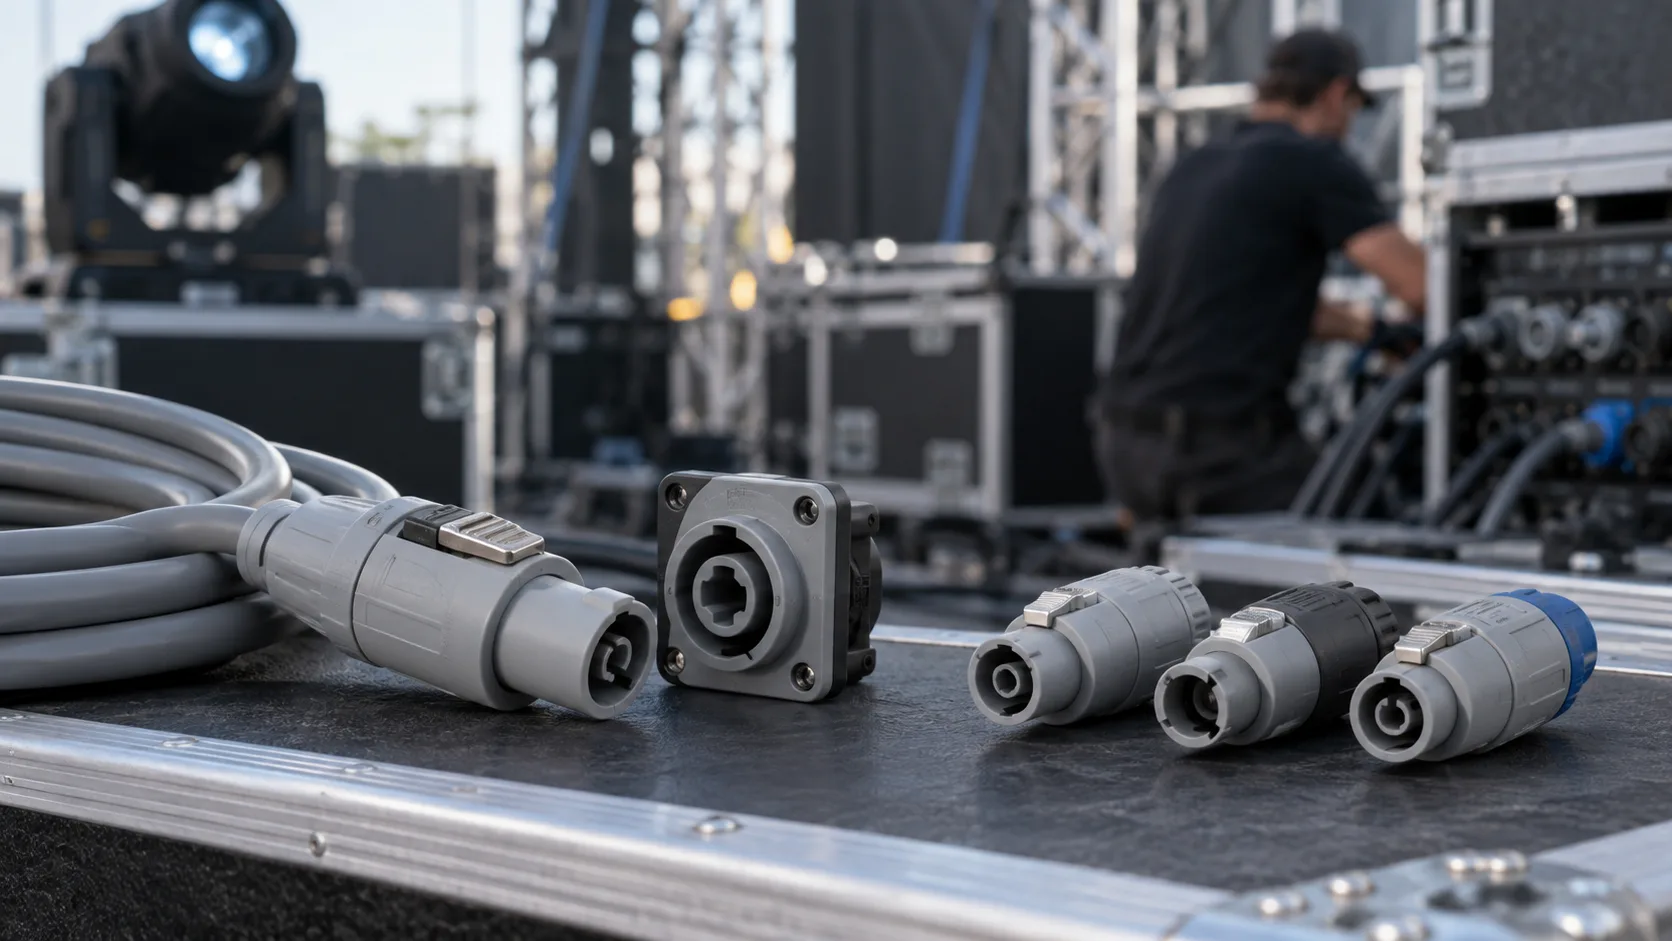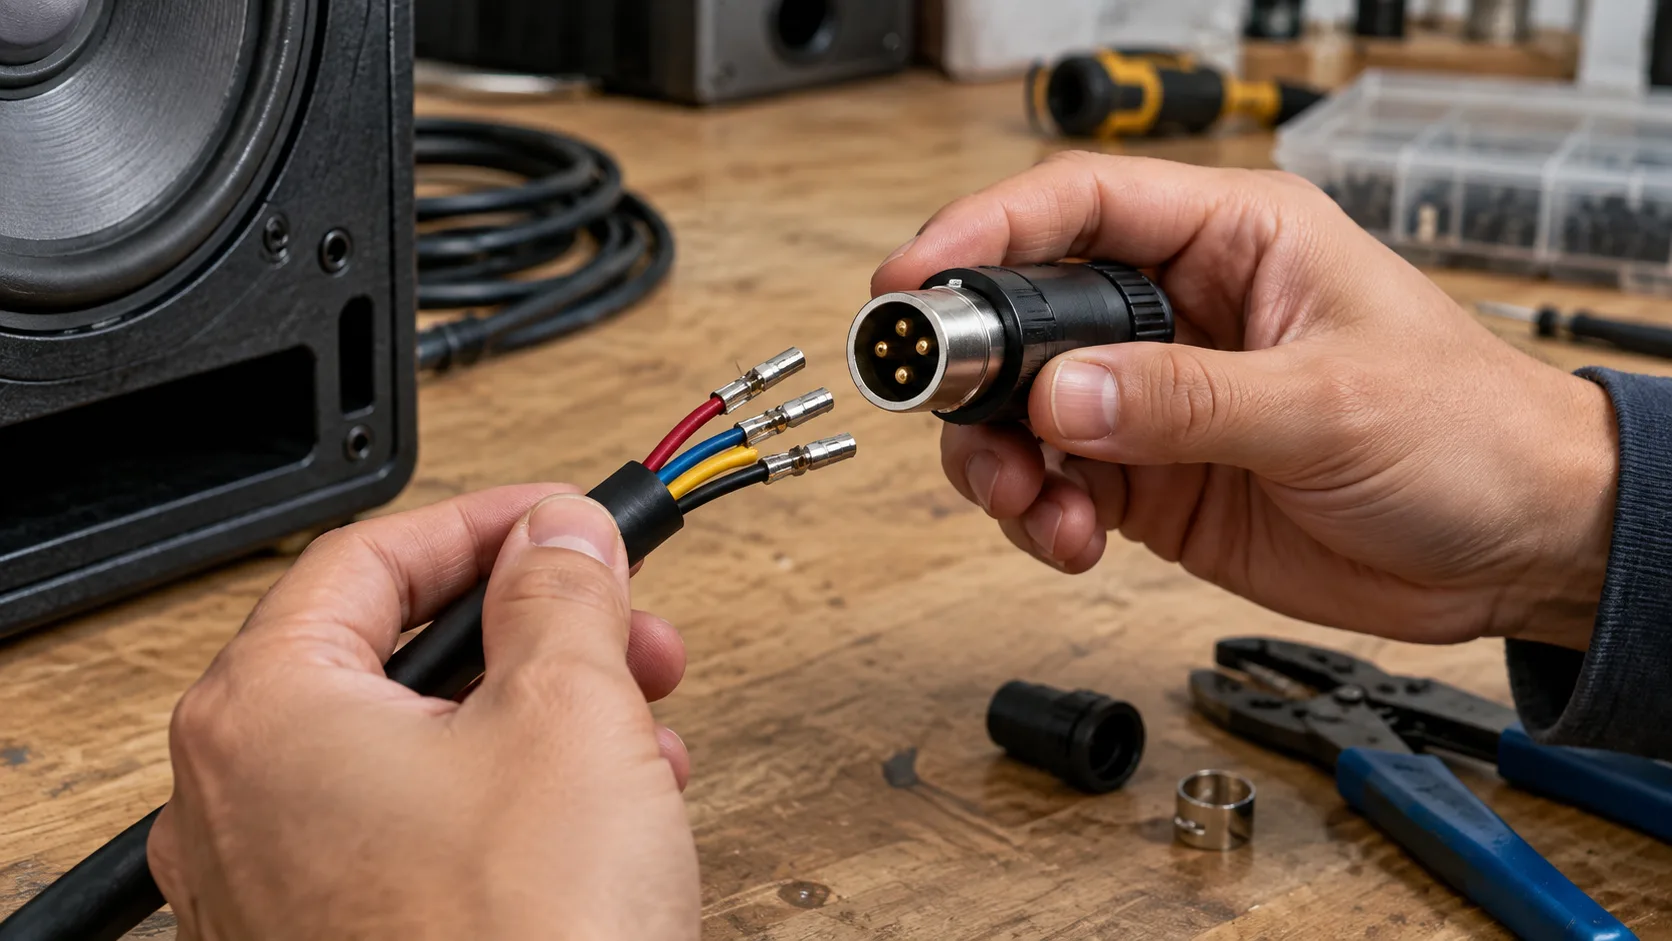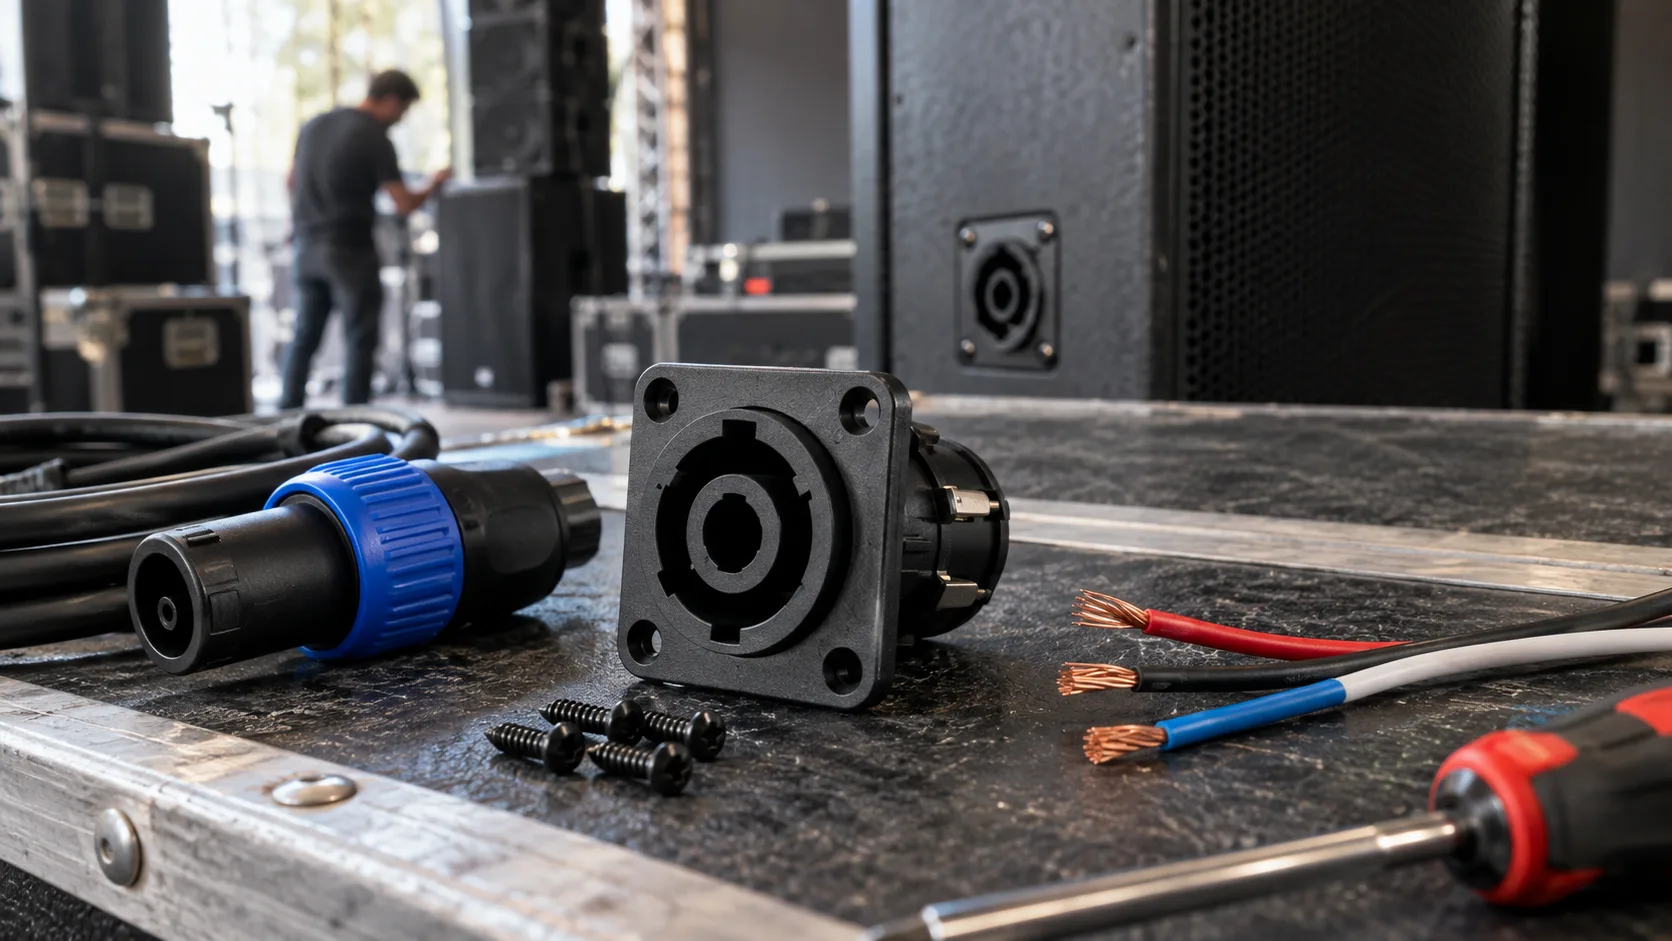
A four-contact speaker socket can look like a simple replacement part, yet choosing the wrong one can leave you with mismatched mounting holes, unused cable conductors or a speaker cabinet wired for the wrong operating mode.
When selecting a 4 pin Speakon panel mount socket, check three things first: the mating connector, the equipment’s pin assignment and the physical installation. This guide explains how those checks apply to PA cabinets, stage monitors and amplifier panels, using the HP-15PG as a practical product example.
What Is a 4 Pin Speakon Panel Mount Socket Used For?
A panel mount speaker socket provides a fixed connection point on an enclosure. Typical locations include a passive loudspeaker’s rear input plate and a power amplifier’s speaker output panel.
Four-pole connections provide two contact pairs. Depending on the equipment, they can carry one speaker circuit or two separately assigned circuits, such as low-frequency and high-frequency feeds in a bi-amplified system. The connector itself does not split the audio into frequency bands. Neutrik’s speakON FAQ explains the bi-amp application and identifies these connectors as loudspeaker connections, not AC mains connectors.
For a cabinet builder, the useful question is therefore not simply “does it have four pins?” It is “does this socket support the connection scheme and assembly method specified for this cabinet?”
4 Pin Speakon Wiring: What Do 1+, 1−, 2+ and 2− Mean?
The four contact labels identify two pairs. The table below shows common arrangements, not a universal wiring instruction for every amplifier or loudspeaker.
| Contact pair | Common single-circuit use | Example bi-amp use |
|---|---|---|
| 1+ and 1− | Speaker positive and negative | Low-frequency positive and negative |
| 2+ and 2− | Unused unless assigned by the equipment | High-frequency positive and negative |
Neutrik’s speaker connector wiring diagrams illustrate different configurations, including bi-amp and bridged arrangements. Follow the amplifier and cabinet documentation for the actual pin mapping. Bridge mode can use a different assignment from ordinary single-channel operation.
Read the contact labels on the component instead of copying positions from an unverified photo. Check whether a drawing shows the mating face or the rear terminals. Before connecting equipment, test the assembled cable and panel wiring against the intended diagram.
2 Pole vs 4 Pole: Which Does Your Speaker System Need?
Start with the number of circuits your system must carry. A single speaker circuit needs one conductor pair; two independent circuits need two pairs. Having four contacts available does not mean all four are connected inside a cabinet.
For example, a passive full-range cabinet may use one pair to feed an internal crossover. A cabinet designed for external bi-amplification may use separate pairs for its low-frequency and high-frequency sections. Those designs require different wiring, even if the front of the socket looks similar.
Also inspect the cable. A four-pole plug can be assembled with only two conductors, so its appearance does not prove that both pairs are available. Check the complete path from amplifier output to speaker input.
When combining two-pole and four-pole components, confirm the exact plug and socket pairing with the manufacturers. Contact count alone is not a sufficient compatibility check.
Where the HP-15PG Fits in a Speaker Cabinet Build
For a new input plate or a cabinet repair, the HP-15PG 4 Pin Speakon Panel Mount Socket is a model to evaluate. Chengyu Tech’s product page describes it as an NL4-compatible chassis socket with a twist-lock interface, intended for speaker cabinets, amplifier panels, PA systems and stage audio equipment.
The locking interface is relevant when cables are regularly connected during setup and removed during teardown. Panel mounting provides a fixed location for labeling and internal wiring. The manufacturer also lists OEM/ODM service for projects with customization requirements.
For a production decision, compare the HP-15PG drawing with your enclosure and try a sample with the intended cable plug. Interface compatibility does not establish that its flange, mounting holes or rear terminals match an existing part.
Five Checks Before Replacing a Speaker Cabinet Socket
1. Match the cutout and mounting holes
Measure the existing opening, hole spacing and available flange area. Check the panel thickness and fastening arrangement. A connector that fits through the opening may still leave its screws misaligned or its flange poorly supported.
2. Allow room behind the input plate
Check rear clearance with the internal wires attached. Leave enough room to route and support those wires without pressing them against a cabinet wall, crossover board or adjacent terminal. Include the space needed to remove the input plate for service.
3. Confirm the terminal style
Request the exact terminal dimensions and approved connection method for the selected model. Match the wiring hardware and conductor size to that information. Do not assume the replacement accepts the same terminals as the old socket.
4. Preserve the cabinet’s wiring scheme
Document the original wiring before disconnecting it, then compare it with the cabinet schematic. Labels such as “input,” “link” and “bi-amp” describe different functions that must be reflected in the internal connections. Do not join amplifier outputs through a panel unless the equipment documentation explicitly specifies that arrangement.
5. Test locking and access with a real cable
Insert the intended plug and check the full locking and release movement. Confirm that a recessed plate or neighboring connector does not obstruct the user’s hand. The socket should remain secure in the panel during normal connection and disconnection.
How to Evaluate Ratings for a PA Speaker Connector
Ask for the current rating, voltage rating, permitted wire size and operating conditions for the exact part. A voltage figure alone cannot establish how much speaker power the complete connection can carry.
The HP-15PG page lists a temperature range of −25°C to +70°C and a service life of 5,000 operations. Confirm the associated test conditions with the supplier if those values are part of your purchasing specification. Request a documented current rating before selecting the socket for a particular amplifier and load.
For recurring orders, keep the approved drawing and sample with the inspection requirements. This gives purchasing and assembly teams a shared reference when checking later batches.
A Practical Sample Test Before Ordering in Bulk
Use a sample panel built from the intended material and thickness. Assemble the socket with the planned wiring and fastening hardware, then check:
- Panel fit, screw alignment and rear clearance.
- Plug insertion, locking and release.
- Continuity of each intended circuit and absence of unintended connections, with the assembly disconnected from the amplifier.
- Clear labels for channel, polarity and operating mode.
- Audio operation in the intended system, beginning at a low level.
If the assembly passes these checks, record the component revision and wiring details before ordering production quantities. For a project considering this model, review the HP-15PG socket details and send the supplier your panel drawing, intended cable plug, electrical requirements and estimated quantity. Those details make a sample request more useful than a model number alone.
Frequently Asked Questions
Does a 4 pin speaker socket always require four wires?
No. A single circuit uses one pair, while a two-circuit arrangement uses both pairs. Wire it according to the equipment’s specified pin assignment.
Can the HP-15PG be considered for a bi-amp cabinet?
Its four-pole format makes it a candidate, provided its electrical ratings, terminal arrangement and panel dimensions meet the design requirements. The cabinet and amplifier must also support the intended bi-amp wiring.
Is the HP-15PG a direct replacement for every NL4 panel socket?
The product page states NL4 interface compatibility. Verify mounting dimensions, terminal details and electrical ratings separately before treating it as a replacement.
Why is there no sound after installing a new socket?
With the amplifier switched off and disconnected, check the cable and socket pin assignments, terminal connections and continuity. A cable wired to one contact pair will not reach a cabinet circuit assigned to the other pair. Also confirm that the plug is fully locked.
What information should accompany a bulk inquiry?
Include the model, panel drawing, mating plug, wiring requirements, operating conditions and quantity. If replacing an existing part, include its drawing and photographs of both the front and terminal sides.